I know I am a little late on linking up with Ashley for this week’s SOOC challenge, but I still wanted to show you my personal edits from my photographs I took on Monday.
About a year ago, my beloved taught me about the “High Pass” filter in Photoshop. I do not use it often in my portrait photographs, because it is not very complimentary for portraits (too sharp). But it does wonders for any regular photography. Even with an untrained eye, you surely can see the difference between SOOC (straight out of camera) and the edited version. I really like my 50mm, 1.4 Canon lens, but it softens your images.
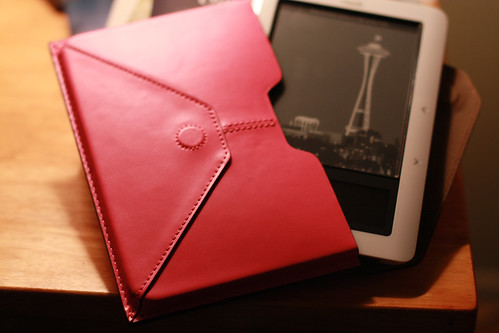
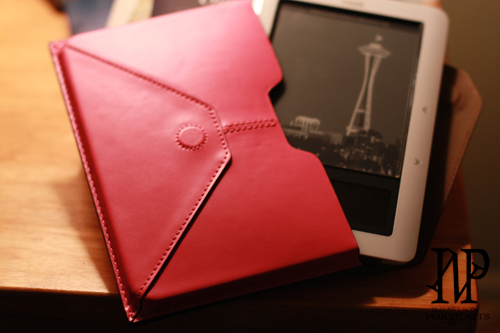
Here is the pink Nook cover, first the SOOC photograph and than the edited version:
Here is how I worked my edit: Duplicated the layer, Filter/Other/High Pass, applied the filter with 89%. Next I used the “Brightness/Saturation” slider to take down the glare a hair. You can see that the seams of the Nook cover are much sharper than in the original photograph.
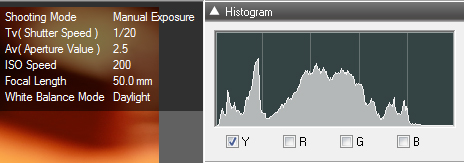
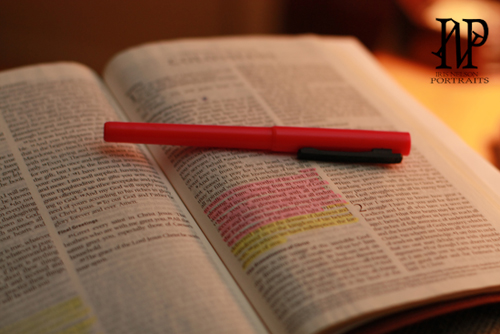
Next is the original of my Bible with the pink highlighter (the passage here highlighted in pink is Colossians 1:10-12). See how soft the image is with the 50mm with an Aperture of 2.5?
I again used the “High Pass” filter, layered it over the image with the “Vivid Color” setting @ 75%. I also dabbled a little with the brightness. See how much sharper the image becomes with the filter. I think it is cool 🙂 .
There is so much we can do to enhance the photographs we take, but we have to also be very careful on how much we edit and what we edit. Some of the techniques do not work with portrait photographs (at least not for my clients and me).
Thank you for stopping by today. I hope I was able to explain a little more about my personal editing of my photographs.
Have a blessed weekend, my friends.
PS: please remember that all photographs shared on my blog are copyrighted to me – Thanks!


